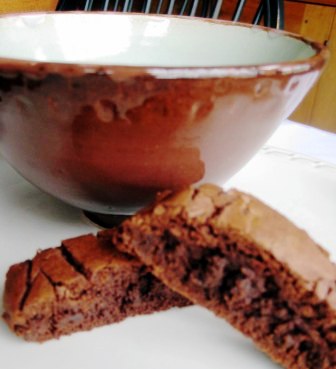
Biscotti anyone?

“Biscotti” is the plural form of biscotto. The word originates from the medieval Latin word biscoctus, meaning “twice-cooked/baked.” It defined oven baked goods that were baked twice, so they were very dry and could be stored for long periods of time. Non-perishable food was particularly useful during journeys and wars, and twice baked breads were a staple food of the Roman Legions.

Through Middle French, the word was imported into the English language as “biscuit”, although in English as in Italian “biscuit” does not refer specifically to a twice-baked cookie, but applies to any type of biscuit.

In North America, where “biscuit” has taken on other meanings, twice-baked cookies are known as biscotti.

Today the regional variations of the original are still adhered to, but the modern mass-manufactured biscotti are in actual fact closer to cantuccini, variations of biscotti.

As a result, modern biscotti recipes often contain nuts (traditional almonds, hazelnuts, pistachios) or spices such as anise or cinnamon. Following twice baking (once in long slab form, secondly in cut sliced form), the biscotti may be dipped in a glaze, such as chocolate.

Chocolate Biscotti Recipe:

2/3 cup (4 oz.) semisweet chocolate chips, 1/2 cup butter, 2 eggs, 1 cup sugar, 1 tsp vanilla, 2 – 2 1/4 cups flour, 1/2 cup unsweetened cocoa, 1-1/2 tsp. baking powder, 1 tsp salt.

Heat the oven to 350 degrees F. Melt the butter and chocolate in a saucepan & set aside. In another bowl, beat eggs and sugar; add vanilla & chocolate mixture. Mix in remaining dry ingredients. Divide dough in half. (Add additional chocolate chip morsels if desired.) Form each half into log 3-1/2 inch X 9 inch and place on baking sheet lined with parchment paper. Bake 25 minutes. Reduce oven to 275 degrees F.

Allow ‘logs’ to cool and cut into about 1/2-inch thick slices. Arrange on baking sheet and bake additional 20-minutes. Store in air-tight container.

Enjoy!

A Mighty BIG Giveaway at Juniper Moon Farm!

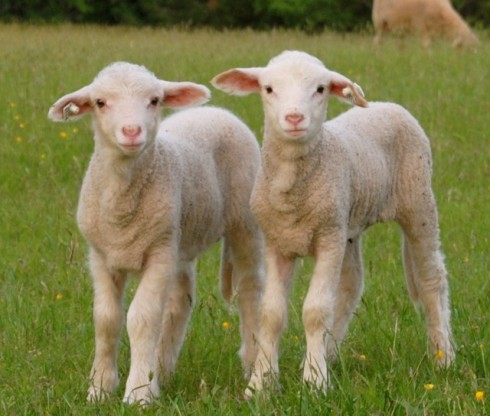
Are you dreaming of owning your own sheep some day? The most awesome folks at JUNIPER MOON FARM are having a contest to start you off with your very own starter flock!!! Not once, twice, but third time they’re providing a ‘dream-come-true’ opportunity to a lucky winner! Can you believe it! Go here to view ‘contest’ details! Hurry…video entries due by midnight, March 16, 2012! Pass the word…

Good luck!!

Getting my ‘green’ on.

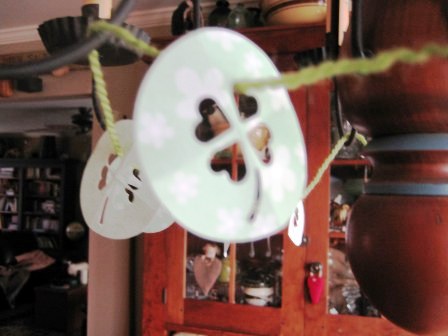
It’s time to replace all the February ‘hearts’ with St. Patty’s Day green!

Last night, I was think’n about shamrocks. I thought I’d use my heart paper punch to create the 4-leaves/lobes for each 4-leaf clover… and glue them together, add a stem… phew! HA HA HA …………..are you NUTZ???

Instead, I used a variety of green papers and punched circles. To make the shamrock, I folded the paper circle into quarters and, using a small heart punch, cut-out a make-do clover. Viola! I cut a stem free-form with an X-Acto  knife and strung them all together with a length of yarn to make a simple green garland decoration. A no-brainer, eh?

Next, I pulled out some green fabric scraps (I never throw anything away) I had from a banner I made for our 4-H Ag Fair goat display.

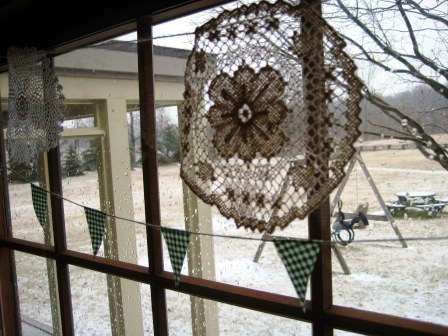
I made a wee pennant paper pattern and snipped multiple pennants from the green-checked fabric material (but, you could use green decorative paper too).

Using a dab of Fabri-Tac, I glued each pennant approx 2-1/2-inches apart along a length of green cotton twine (or yarn, garden jute, etc) to make a wee GREEN mini-banner!

Look around your craft room for bits & pieces, odds & ends to add a splash of green to your decor to help celebrate St. Patty’s Day on March 17. It could also be used as a harbinger of Spring too!

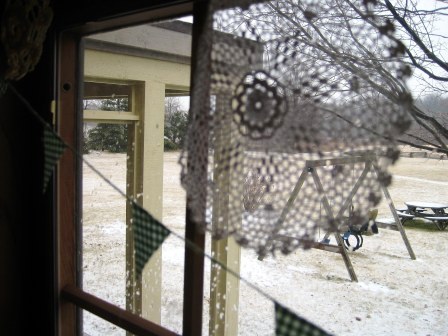
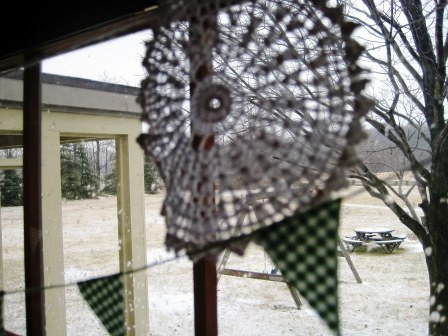
BTW, since I removed the heart decor from my window, I replaced it with a simple lace doily banner/valence.

It’s a good use for mom’s hand-crocheted vintage doilies! You could use paper lace doilies too! Wouldn’t that be a sweet decoration for a garden party?

… better than neglected in the linen closet!

…and it makes me think of my mom! ♥

What’s on my workbench?

… or more accurately, my kitchen counter?

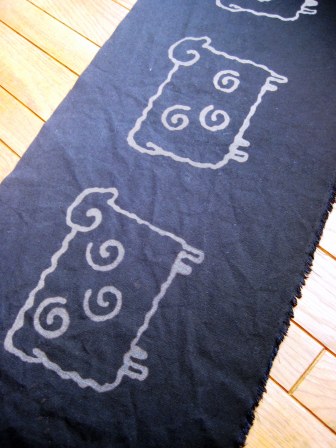
Check it out: a bleached ART sheepy project.

I got the idea from here :

photo via show tell share

…and thought it would be a fun project for my 4H kids???

Naturally, I had to try it for myself FIRST – and it had to be sheepy!!!

This is the reverse side, before rinsing.

And this is the final rinsed project.

Here’s a close-up.

How-To:

I followed the directions from Show Tell Share. You’ll need a Clorox Bleach Gel Pen for WHITES and fabric. I found mine in the laundry detergents aisle at Meijer. I used an inexpensive 60/40 cotton polyester blend (black) to ‘experiment’, but – Show Tell Share – recommends a cotton jersey (she also used a linen fabric for her table runner). I ironed a piece of butcher paper to the back… because I have it readily available in my pantry. Otherwise, place on several sheets of newspaper to protect your work surface. I free-handed a sheep with the fine point end of the bleach gel pen… but you can draw any ‘simple’ design. Too much detail and you’ll lose some of it in the final results… the bleach does absorb/spread/blur a little bit.

Let the bleach sit about 20-minutes. Peel the paper backing and rinse in cool water. You may run through a cycle in the washing machine. There you go. You can customize a table runner, place mat… or kids’ DIY T-Shirts?

I thought it would make a nice ‘banner’ or table skirt for a craft show display or Ag fair…

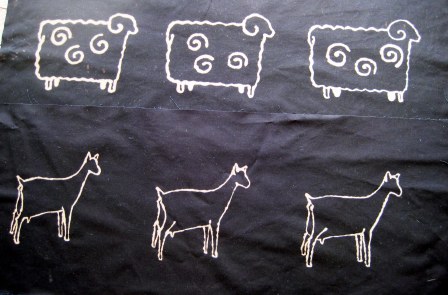
The sky’s the limit! I’m gonna try a dairy goat next… hope her udder turns out!!!

And here’s the dairy goats!

I love ’em both!

Where’s my bleach gel pen??? I think I’ll pencil-in: “Dairy goats – the other white milk”!

My Flock

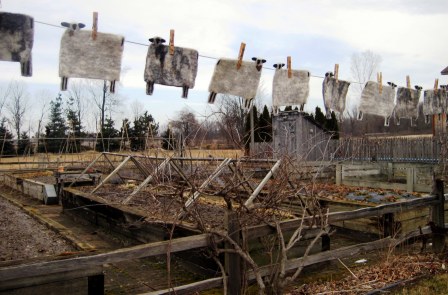
I just finished making this…

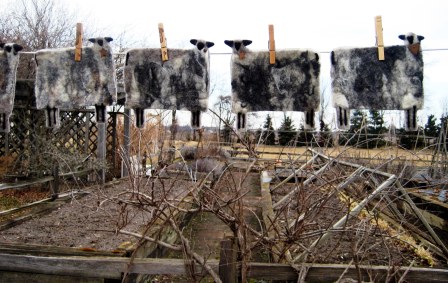
…into this.

It’s overcast today, so I had difficulty taking decent photos. The gardens look so gray and dreary!

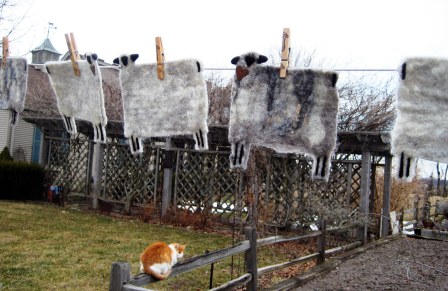
I made a paper pattern and cut four sheep from each ‘square’ of felt: a total of twelve sheep approx 5-inch X 7-inch.

Each sheep is ewe-nique, depending on how I arranged my wool fleece before wet-felting.

I simply needle felted the details: face, ears, legs. My thanks to contributions from…

… ‘Astin Martin’, my yearling Shetland ram, and

And Athos, Mr. el destructo!

…who just couldn’t be bothered to say ‘hello’.

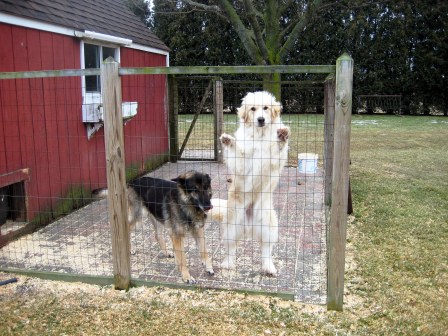
Oh, and a big ‘thanks’ to my puppies, who directed the entire photo session!

This was a fun, no-sew wet-felting sheepy project!

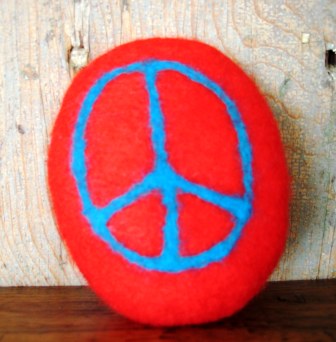
My mindless felting project.

Weekends are usually busy family days, not often spent on my ‘projects’. Saturday I managed to sneak-in a few hours of mindless felting… with no particular ‘project’ in mind.

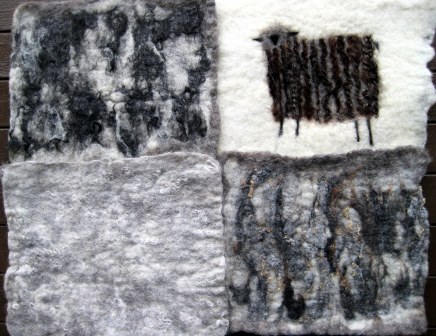
This is what I ended up with: four pieces of nicely ‘textured’ felt. I arranged several layers of felt to my desired thickness, and then incorporated contrasting ‘raw’ wool staples on the top/final layer.

…and this is what I ended up with today.

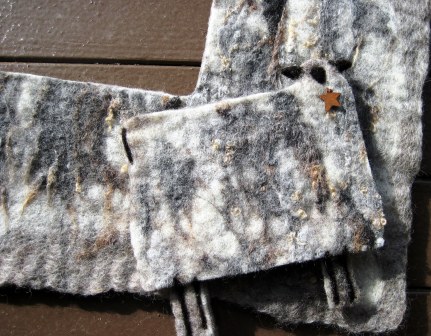
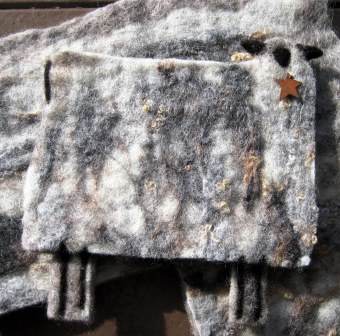
A no-sew primitive sheep. Perhaps he can be used as a mug rug?

A simple table decor? A sheepie ornie to decorate my Easter tree? Or, perhaps I’ll string a whole flock together for a ‘ewe-nique’ garland of sheepies running across my mantle.

Happy Day!

A DIY alternative to Fat Tuesday ‘paczki’

What is Fat Tuesday?

Fat Tuesday is Mardi Gras, a famous festival in New Orleans, Louisiana. “Gras” is French for fat and “Mardi” is French for Tuesday. The annual festivities start on January 6, the Twelfth Night Feast of the Epiphany, when the three kings visited the Christ Child, and build to a climax on Mardi Gras, or Fat Tuesday  –  which always occurs on the day before Ash Wednesday. The parties, parades and festivities will continue until Lent (in the Catholic faith) begins at the stroke of midnight on Tuesday. Mardi Gras is a legal holiday in New Orleans and has been celebrated for two centuries in New Orleans, except during the two World Wars.

Many Polish Americans celebrate Pączki Day on Fat Tuesday (the day before Ash Wednesday). In Poland, pączki are eaten especially on Fat Thursday (the last Thursday before Ash Wednesday). A pączek is a deep-fried piece of dough shaped into a flattened sphere and filled with custard or other sweet filling. Pączki are usually covered with powdered sugar, icing or bits of dried orange zest. A small amount of grain alcohol is added to the dough before cooking; as it evaporates, it prevents the absorption of oil deep into the dough.

In the Metro Detroit area, it is so widespread throughout the region that many bakeries have line-ups for pączki on Pączki Day. Traditionally, the reason for making pączki was to use up all the lard, sugar, eggs and fruit in the house, because they were forbidden to be consumed due to Catholic fasting practices during Lent.

If you love to bake and you’re looking for a lighter ‘sweet’ treat alternative for Paczki Day, here’s a family favorite – my Oma’s ‘Wochteln’ – a simple yeast dough that’s filled with jam/preserves.

First, meet my Oma – she’s on the far left, with her sister, Resitant. That’s me in yellow and my Tante Mina. My Oma was born in 1902, and sadly, all in the photo are now deceased. This photo was taken in August, 1972 in a little town of Northern Austia… where my mom was born in 1925. I was fortunate to spend three summers with relatives in Austria!

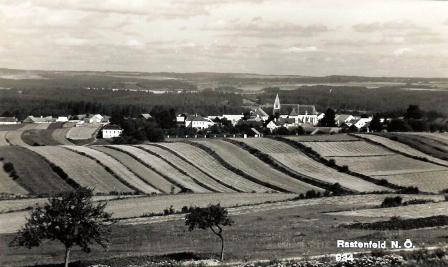
This is Rastenfeld, a small village in Nieder Osterreich (Austria) where my mom was born. My Opa (whom I never met) was the village blacksmith.
But, I’ve digressed!

Here’s a whole pan of fresh-baked wochteln goodness!

They pull-apart for individual ‘servings’ (half the tray went with my son on his last weekend visit).
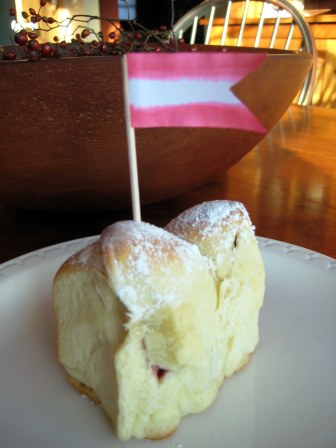
I baked one pan-full for my mom’s 87th birthday… and another batch for my family!

This batch was raspberry filling!

HOW-TO:

You’ll need about 5 – 6 cups flour, 2/3 cup sugar, 3 eggs, 5 tablespoons butter (or marg), 1 package dry yeast (2 -1/4 tsp), 5 tablespoons, sour cream, 3/4 cup milk, 1 teaspoon salt. You’ll also need your favorite pie/pastry filling. I use 2 cans SOLO brand for a generous amount of filling (you could make half & half… for example, half the pan with apricot & half the pan with raspberry).

I use my Kitchen-Aid mixer with the dough hook attachment, but you could mix the dough the old-fashioned way, by hand with a wooden spoon!

Add all dry ingredients (starting with 5-cups flour — reserve one cup flour and use as needed to bring dough together) —  to bowl and give a quick stir with a whisk. Dissolve yeast in like warm milk (about 100 – 110 degrees F). Break eggs into another bowl and slightly beat. Finally, make a ‘hole’ in the center of the bowl/flour mixture and add ‘wet’ ingredients. Begin to mix/incorporate flour into center (or let the mixer do the work).

When dough is well mixed and ‘smooth’ place in a clean, greased bowel, cover with clean towel and allow to rise (double in size) for several hours. Punch dough down and work with half the dough at a time. Work/knead gently on floured board and roll out dough about 1/4-inch thick. Score/cut approx 12-squares (about 4″ X 4″) of dough. Prepare your 8″ X 10″ stainless steel baking pan. Drizzle vegetable oil in the baking pan to grease the pan – with a bit extra – to ‘roll’ doughnuts into – I place about 4 doughnuts across and 6 down…

Now, to form the ‘doughnuts’: take each square in your hand and place a generous tablespoon of ‘filling’ in the center. Gather up corners and pinch, to seal ‘jam’ in center – it doesn’t have to be ‘pretty’. Roll it a bit in the oil and place in pan. Continue ’til pan is filled. Cover with towel and allow to rest/rise for about 30-minutes.

Bake in 350 degree F oven for about 30 – 45 minutes, until golden brown. Cool on wire rack and sprinkle with XXX powder sugar. (My Oma taught me how to bake this recipe in her +100-year-old house on a wood-fired stove/oven!

Sweet memories…

Enjoy!